
Last updated November 15, 2026
 Wrought iron
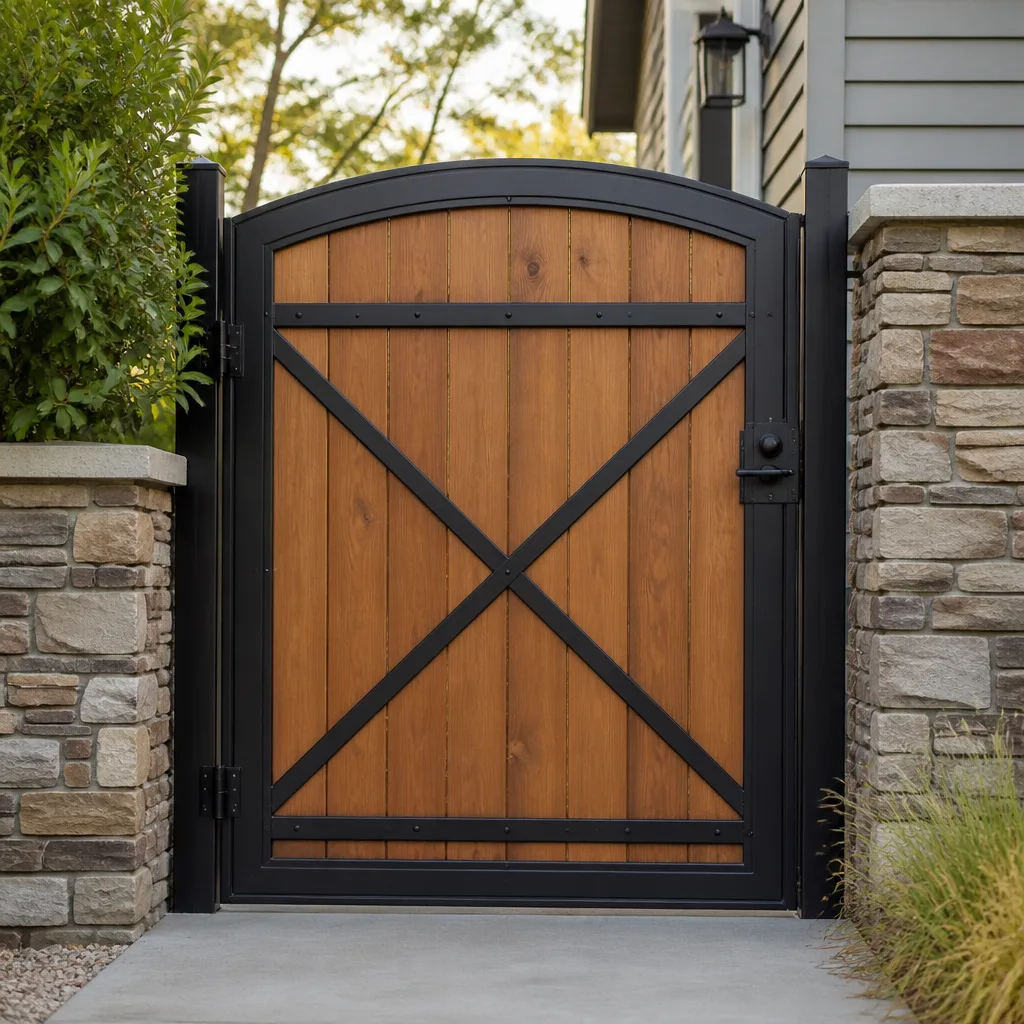 Wood & steel frame
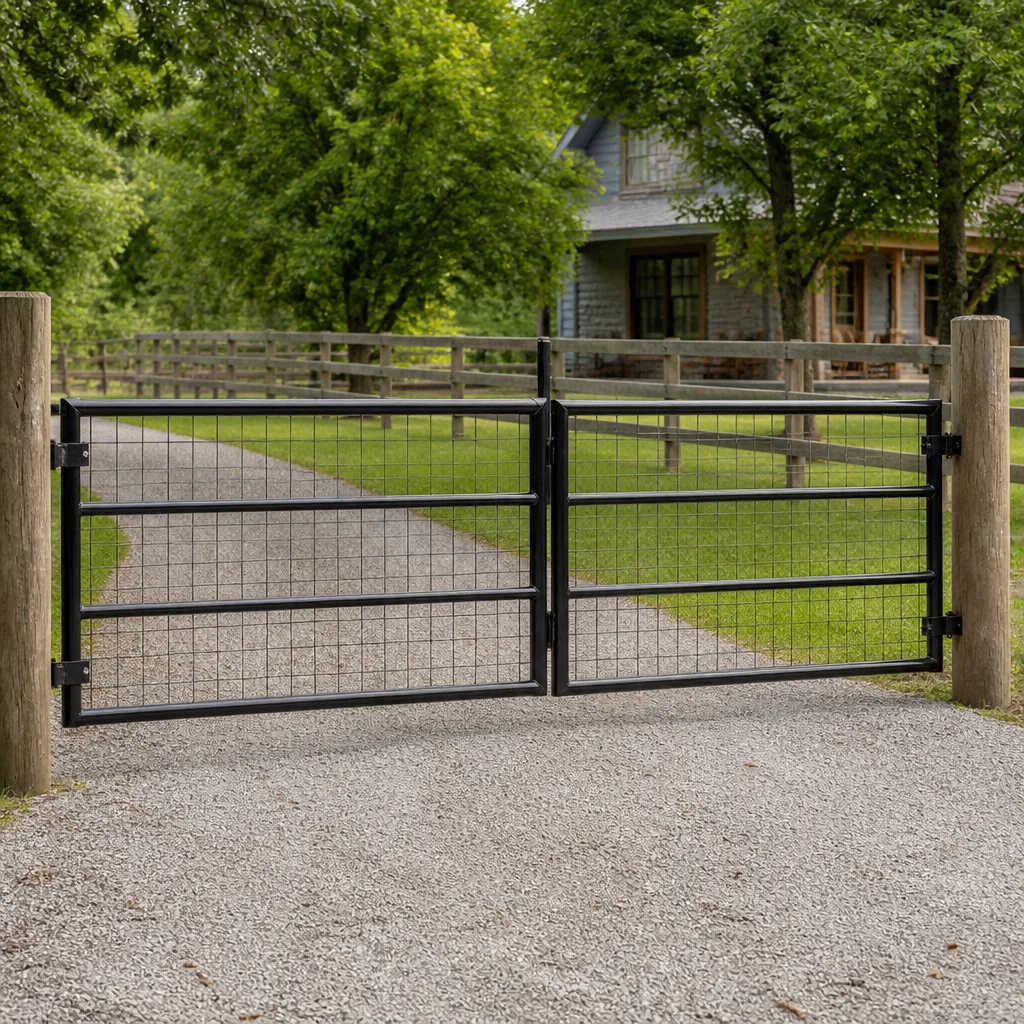 Farm & ranch
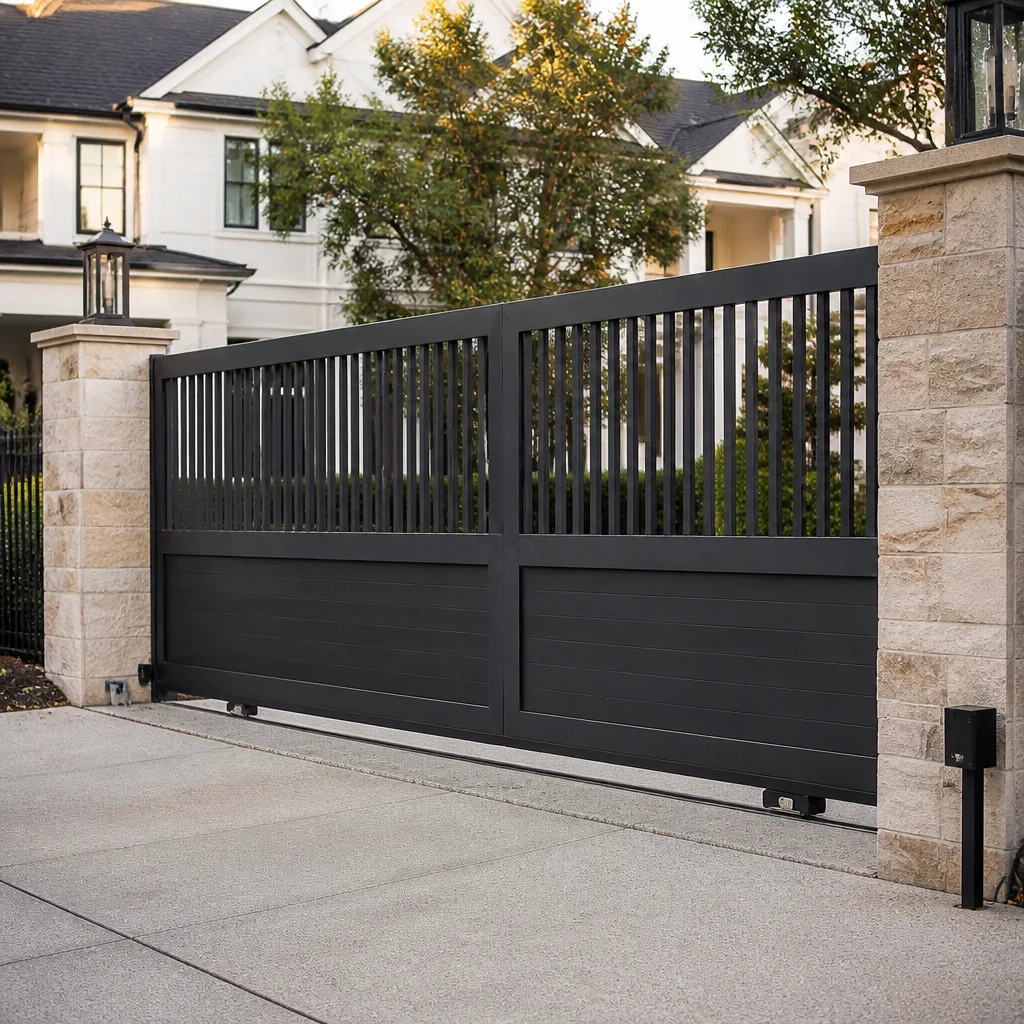 Sliding driveway gates
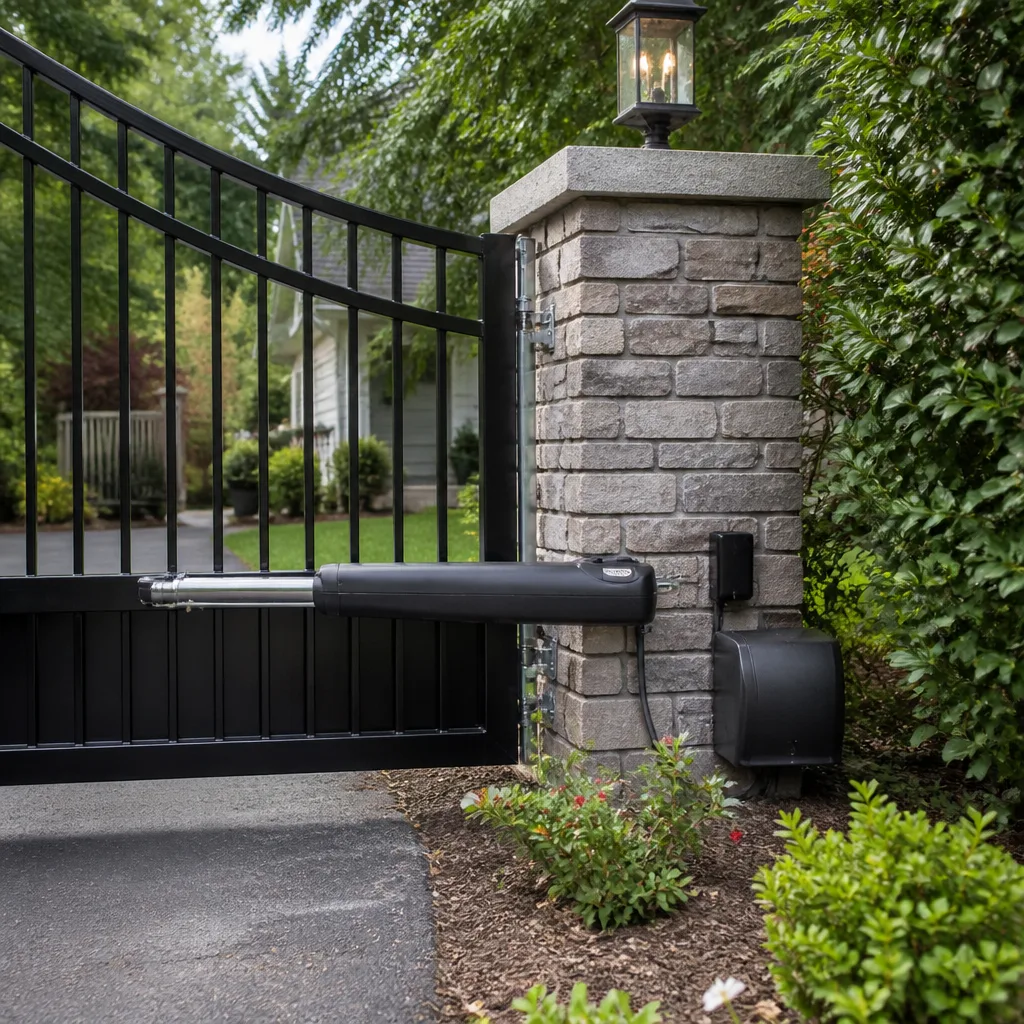 LiftMaster operators
Free on-site gate assessment - hinges, posts, and your LiftMaster or Nice gate operator checked before anything is quoted
The assessment is free and the quote is the invoice.
Get your free estimateGate Repair Maintenance Checklist for Renton Homeowners
The most common maintenance mistake on an automated gate isn’t skipping a service – it’s using the wrong lubricant. A homeowner sprays WD-40 on a chain-drive operator thinking they’re protecting it, and they’re actually stripping the factory grease that keeps the chain and sprockets from grinding themselves down. Most gate maintenance checklists online skip this because the people writing them don’t work on gates for a living. This guide is organized by operator type and brand, so the tasks you do actually match the hardware on your property in Renton. You’ll learn brand-specific lubrication rules, three measurements you can take yourself to catch drift early, and how local rainfall speeds up hinge corrosion on a predictable schedule.
Quick Answer
A useful gate maintenance checklist has to match your specific operator, not a generic list. Monthly tasks (visual inspection, sensor check, debris clearing) take about 15 minutes; semi-annual tasks (lubrication, hardware tightening, travel-time measurement) take 45-60 minutes; annual tasks (hinge corrosion treatment, electrical enclosure inspection, professional diagnostic) take half a day or a service call. LiftMaster, FAAC, BFT, and Linear operators each have different lubrication points and sensor calibration needs, so check your brand before you start. Gates near Renton’s tree canopy and in high-rainfall pockets of the city need more frequent hinge attention than a gate tucked under a covered entry.
Styles & brands we work with
- Wrought iron
- Wood & steel frame
- Farm & ranch
- Sliding driveway gates
- LiftMaster operators
Table of Contents
- Why Your Operator Brand Changes the Checklist
- Operator-Specific Lubrication: What to Use and What to Never Use
- The Three Measurements Homeowners Can Take Themselves
- How Renton Rainfall Affects Hinges and Electrical Enclosures
- Controller Board Indicator Lights That Signal Failure Before It Happens
- Monthly, Semi-Annual, and Annual Task Breakdown With Time Estimates
- Seasonal Timing for Renton Gate Maintenance
- Common Mistakes to Avoid
Why Your Operator Brand Changes the Checklist
Gate operators aren’t interchangeable, even when they look similar from the driveway. A LiftMaster residential swing operator and a FAAC commercial-grade actuator use different gear designs, different control-board logic, and different lubrication requirements. Owners who treat every gate the same end up creating problems – overlubricating a sealed gearbox, spraying solvent on a chain that needs a tacky grease, or forcing a manual release that only works one specific way. When we open a controller box and see the brand plate, we already have a working hypothesis about which parts wear first.
The nine operators we work with most often in Renton fall into two rough families. Residential-grade systems like Mighty Mule and Ghost Controls emphasize simpler mechanisms and homeowner serviceability. Commercial and multi-tenant systems like DoorKing and BFT are built for higher duty cycles and have more sophisticated control boards with diagnostic indicators. FAAC and LiftMaster sit somewhere in between, with a wide range of residential and commercial products under each name. Linear and Elite round out the picture with solid mid-market swing and slide operators.
What this means for your checklist: the tasks are the same in outline – inspect, lubricate, measure, adjust – but the specifics differ. Lubrication frequency changes. The way a manual release engages changes. The locations of grease fittings vs. sealed housings change. Below, we break out what’s different across brands, so your maintenance matches what you actually own.
If you don’t know your operator brand, look for the manufacturer’s plate on the housing, usually inside the cabinet on a swing operator or on the chassis on a slide. If you can’t find it, Gate Repair Renton can identify it during a service visit.
Operator-Specific Lubrication: What to Use and What to Never Use
WD-40 is not a lubricant for gate operators. It’s a solvent and light penetrating oil designed to displace water and loosen rusted bolts. On a chain-drive operator, it strips the tacky factory lubricant off the chain and leaves the surface dry, so the chain and sprockets wear faster. It also attracts dirt, which turns into grinding paste inside the chain. This single mistake is the most common cause of premature chain wear we see on automated gates around Renton.
What to use instead, by operator type
- Chain-drive operators: Use a chain-specific lubricant rated for outdoor use, or a light coat of gear oil applied with a brush. Apply sparingly – enough to coat, not enough to drip. Wipe off excess. Chain-drive systems are common on residential slide gates.
- Screw-drive operators: The drive screw needs a purpose-made screw-drive lubricant, not chain lube and not grease. The correct product is applied to the drive nut and screw; too much attracts grit into the mechanism.
- Hydraulic swing operators (common on FAAC and some LiftMaster models): Do not lubricate the arm or the rod. Hydraulic actuators have sealed systems and the exposed rod should only be wiped clean with a dry cloth. Lubricant on the rod attracts dirt that damages the seal.
- Articulated arm operators: A few drops of machine oil on the pivot pins, not on the arm itself. Over-lubricating the arm invites dust that wears the pin bushings.
- Rack-and-pinion slide operators: A light coat of grease on the rack teeth, applied with a brush. Wipe off any that gets on the gate frame.
For a LiftMaster swing operator, the manufacturer’s manual usually specifies the exact product, and it’s worth following. For a FAAC, the lubrication intervals are typically longer because the components are built for heavier duty, so adding lubricant more often than the manual calls for can create a mess without improving function. BFT actuators tend to have specific points called out in the service documentation. Linear and Elite operators generally follow the standard chain-and-gear rule.
If you have the manual, use it. If you don’t, a professional service visit will do the lubrication correctly and leave you with the right product spec written down for future maintenance. Our gate repair service covers this as part of a routine call.
What to never apply
- WD-40, PB Blaster, or any solvent-based penetrating oil on chains, screws, or gears.
- White lithium grease on chains – it’s too soft and attracts grit in outdoor conditions.
- Motor oil from the garage on anything except a chain, and even then only as a field expedient.
- Silicone spray on moving mechanical parts – it does nothing useful and hides the problem.
- Anything on the hydraulic rod of a swing operator.
The Three Measurements Homeowners Can Take Themselves
You don’t need special tools to catch most gate failures before they stop the gate entirely. Three simple measurements, taken monthly, will tell you whether the system has drifted.
1. Gap tolerance at the closing edge
With the gate fully closed, measure the gap between the gate leaf and the stop post. A properly adjusted gate closes flush or nearly flush, usually within a fraction of an inch. If the gap has opened noticeably since last month, it usually means a hinge has worn or a post has moved – common in Renton when soil moisture changes between wet and dry seasons. Note the gap monthly and look for trends, not single measurements.
2. Travel time from open to close
Start a timer when you trigger the gate and stop it when the gate fully closes. Write the time down. A new operator has a consistent travel time; when that time starts stretching by several seconds, the operator is either losing power (motor wear, low voltage, controller issue) or fighting friction (dry hinge, misaligned track, dragging wheel). Catching this early avoids a mid-drive failure.
3. Sensor alignment check
Most safety sensors are photoelectric beams – a small light source on one side and a receiver on the other. With the gate in the open position and the sensors powered, check that the alignment indicator on the receiver is lit (this varies by brand; confirm the specific indicator in your operator manual). Then break the beam with a piece of cardboard and confirm the gate reverses or stops. If the beam is misaligned, the gate may still run but won’t reliably reverse on an obstruction. That’s a safety issue, not just a convenience one.
Two additional simple tests guide whether you need to call for help: press the manual release and confirm the gate moves freely by hand (if it’s hard to push, the gate mechanism needs service); and check the gate stop position – if the gate has started stopping short of or past the stop, the limit switches have drifted.
How Renton Rainfall Affects Hinges and Electrical Enclosures
Renton sits in a climate with a distinctly wet season and a dry season, and that pattern drives hinge corrosion on a predictable timeline. During the wet months, water sits in the hinge pin joints and on the gate frame where it collects. During the dry season, those wet surfaces dry out and the corrosion that started in the wet months accelerates – the rust expands, the hinge pin gets rougher, and by the following wet season the hinge is stiff enough to load the operator. A hinge that gets annual attention in Renton lasts far longer than one that gets attention only when it starts squeaking.
The practical maintenance response
- Before the wet season (early fall in Renton): Lubricate all hinge pins with a product rated for outdoor metal-on-metal contact. Inspect the gate frame for any paint failure and touch up bare spots before the rain gets into them.
- During the wet season: Wipe standing water off hinge tops and the gate post caps after heavy rain. Check that gate posts aren’t holding water.
- After the wet season (late spring): Treat any rust that has started with a rust converter, then paint. Lubricate hinges again. This is also when hinge pins that have been quietly seizing over the winter become obvious – the gate swings stiffer and the operator works harder.
Electrical enclosure integrity
The operator cabinet and the wiring enclosure are the parts most often overlooked because they’re not visible from the driveway. In Renton, the wet season puts real stress on those enclosures. Gaskets compress, seals degrade, and moisture gets inside – which is why a controller board on a 6-year-old operator can fail without any warning sign other than a slow accumulation of odd behavior. The checklist item: at least twice a year, open the enclosure (with power off at the breaker), look for standing water, condensation, or rust on the interior, and confirm the door gasket is intact. If the gasket is worn, replace it before the wet season. This one step prevents most of the controller-board failures we see on Renton gates.
We also see damage from irrigation heads and sprinkler overspray on gates near landscaping, so check the cabinet isn’t getting hit by sprinklers during the dry season. That’s a Renton-specific issue many generic checklists miss.
Electrical is not a DIY area, and if you’re not comfortable opening the enclosure, our electric gate repair service includes a full check of the electrical enclosure as part of a service visit.
Controller Board Indicator Lights That Signal Failure Before It Happens
Almost every modern gate operator control board has diagnostic indicator lights that most homeowners never look at. These lights are the difference between catching a failing component early and having the gate stop mid-cycle on a Sunday morning. The specific pattern differs by brand, but the practice is universal: check the lights on a fixed schedule and note anything that changes.
How to check
- Locate the controller board inside the operator cabinet. On most swing and slide operators, it’s on the back wall of the housing or in a separate small enclosure nearby.
- With the gate powered and in the idle position, look at the indicator lights. A normal board shows a steady power light, and status lights for the limit switches, safety sensors, and any loop detectors.
- Write down what the lights are doing. Do this monthly for the first few months, then you’ll know what “normal” looks like for your board.
- Watch specifically for blinking patterns where a steady light used to be, or a steady light where a blinking one used to be. Repeated blink codes usually correspond to a fault recorded by the board.
- For LiftMaster boards, the diagnostic codes are documented in the manual and are specific to the board model. For FAAC and BFT, the diagnostic blink codes are different and require the brand-specific manual to interpret. Linear and Elite boards are usually simpler with fewer codes.
A slowly blinking safety light on a LiftMaster often indicates a sensor issue rather than a controller fault. A board that’s starting to fail intermittently will often show an unexpected blink pattern only some of the time – which is a sign to schedule service before it stops working entirely. Same with DoorKing entry systems, which log errors internally and often show them through blink patterns on the display or status light.
If you’re not sure which pattern is normal for your operator, a service call can document the baseline for you and give you a reference sheet. Our technicians have up to 8 years of experience reading control boards across all nine brands we service.
Monthly, Semi-Annual, and Annual Task Breakdown With Time Estimates
This is the printable part. Organize the tasks below by frequency and put the monthly list on your calendar – the point of the schedule is that it’s boring and repeatable.
Monthly tasks (about 15-20 minutes)
- Visual walk-around (3 min): Look at the gate from both ends. Check for bent or loose panels, dragging gates, hanging chains, or obvious damage.
- Debris clearing (5 min): Clear leaves, branches, and gravel from the gate track or swing arc. In Renton, debris accumulation is worst in fall and after storms.
- Gap and travel-time measurement (5 min): Take the three measurements from the earlier section and note them in a log.
- Sensor test (3 min): Break the safety beam with an object and confirm reverse or stop.
- Control board indicator check (3 min): Confirm the indicator lights match the baseline you’ve noted.
Semi-annual tasks (about 45-60 minutes)
- Lubrication (15 min): Lubricate hinges, chains, drive screws, or rack teeth according to your operator brand and type. This is the biggest time item but the most important.
- Hardware tightening (10 min): Check every visible bolt on hinges, brackets, and the operator mount. Vibrations from a running gate loosen these over time.
- Manual release test (10 min): Engage the manual release, push the gate by hand to confirm free travel, and re-engage. If the gate is hard to move by hand, note it.
- Battery backup check (5 min): If your operator has a battery backup, test it by cutting power at the breaker and confirming the gate completes one cycle on battery. Restore power.
- Electrical enclosure inspection (10 min): Power off. Open the cabinet, look for moisture, rust, or insect intrusion. Confirm the gasket is intact. Close and restore power.
Annual tasks (half-day or service call)
- Full professional service (half-day equivalent): A technician checks motor current draw, gearbox condition, control board health, limit switch calibration, and all electrical connections.
- Hinge and hardware deep service: Remove, clean, and re-lubricate hinge pins; treat any rust; replace corroded fasteners.
- Paint touch-up: On bare metal surfaces so rust doesn’t start the following wet season.
- Operator-specific diagnostic: Motor brushes, hydraulic fluid check on hydraulic units, and manufacturer-specific component inspections.
If your operator manual specifies different intervals (some FAAC and LiftMaster commercial operators do), follow the manual. The schedule above is a starting point for most residential and light-commercial systems in Renton.
Seasonal Timing for Renton Gate Maintenance
Gate maintenance in Renton works best when it’s tied to the seasons. The wet season is the hardest on hinges and electrical enclosures, so the big maintenance push belongs just before it starts. The dry season is when you can do paint touch-ups, hinge service, and lubrication without fighting rain. If you do the annual tasks in early fall and the semi-annual tasks in both spring and fall, your gate will hold up through the wettest months.
If you’re in the market for a new gate or replacing an operator, the off-season is also the best time to schedule the work. Renton homeowners who plan installation work for the dry season get the benefit of running the new system for months before the first wet winter. New gate work isn’t a same-day call – it’s measured, ordered, and scheduled – so a free measure and a written estimate is the right starting point.
One seasonal reality to plan around: the weeks before and after the first big rain of the season tend to jam up with calls. If your gate has been acting up all summer, schedule the annual service before the fall crunch hits.
Common Mistakes to Avoid
- Using WD-40 on a chain or screw. It strips the lubricant that’s actually keeping the chain from grinding down the sprockets. Use a chain-specific lubricant, or better, a light coat of gear oil applied with a brush.
- Ignoring the control board’s indicator lights. The lights are there specifically to catch failures early, and skipping them means you find out about a dying sensor or a failing board when the gate stops working. Renton gates that have to run every day through the fall leaves especially benefit from regular indicator checks.
- Skipping the manual release test. The manual release is how you get out of your driveway if the operator fails. If it doesn’t engage cleanly, or the gate can’t be pushed by hand once it’s released, you’ve lost your backup – and that’s a safety issue in an emergency.
- Over-lubricating hydraulic rod operators. On FAAC and similar hydraulic swing operators, adding oil to the rod attracts dirt that damages the seal. Wipe it clean, don’t lubricate it.
- Forcing the gate manually without releasing the operator. On some brands, moving the gate while the operator is engaged damages the gearbox or the limit switches. Always engage the manual release first.
- Leaving the electrical enclosure unchecked. Renton’s wet season works moisture into every gasket that’s slightly worn. Opening the cabinet twice a year catches the gasket failure before it kills a control board.
- Painting over rust instead of treating it. Rust converters do the real work; paint hides the problem for a season and leaves you with the same rust next year, plus an extra paint layer that flakes off when the rust spreads underneath.
See the difference
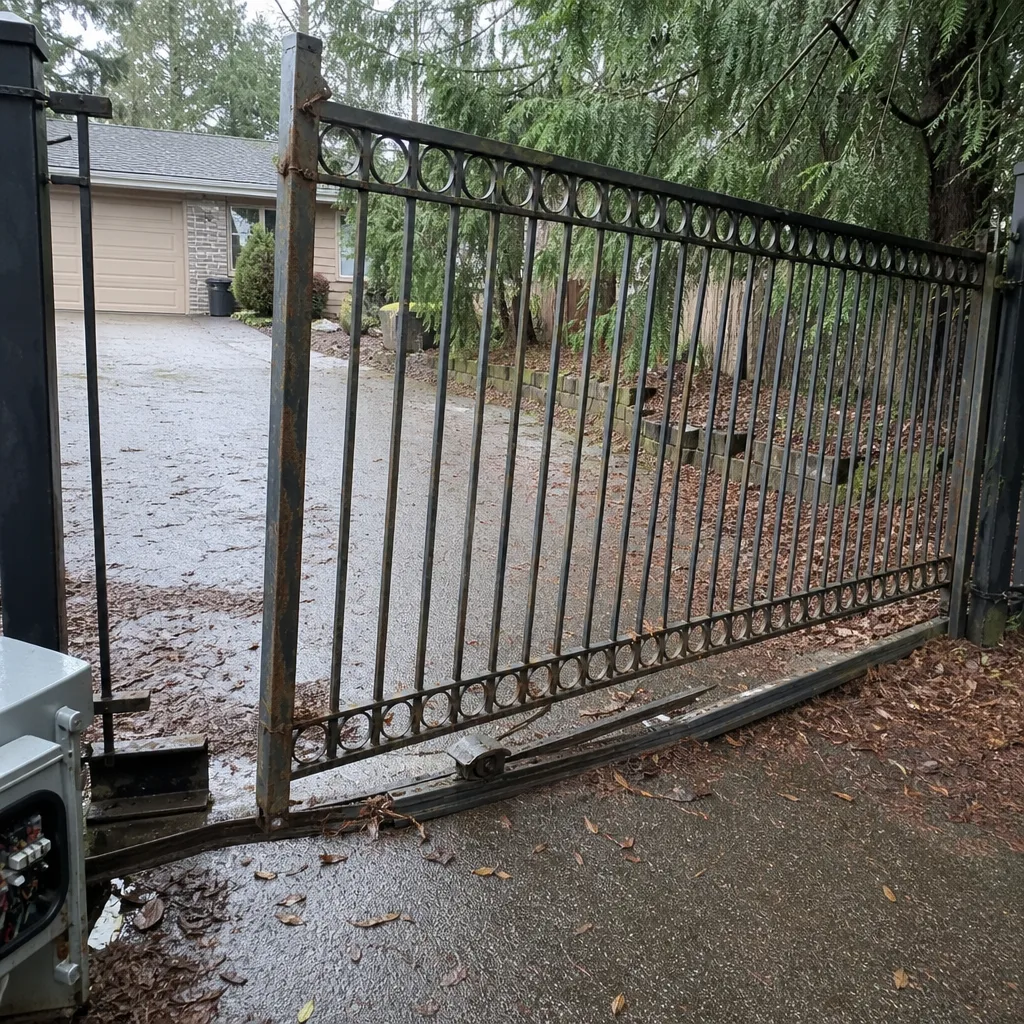 Before
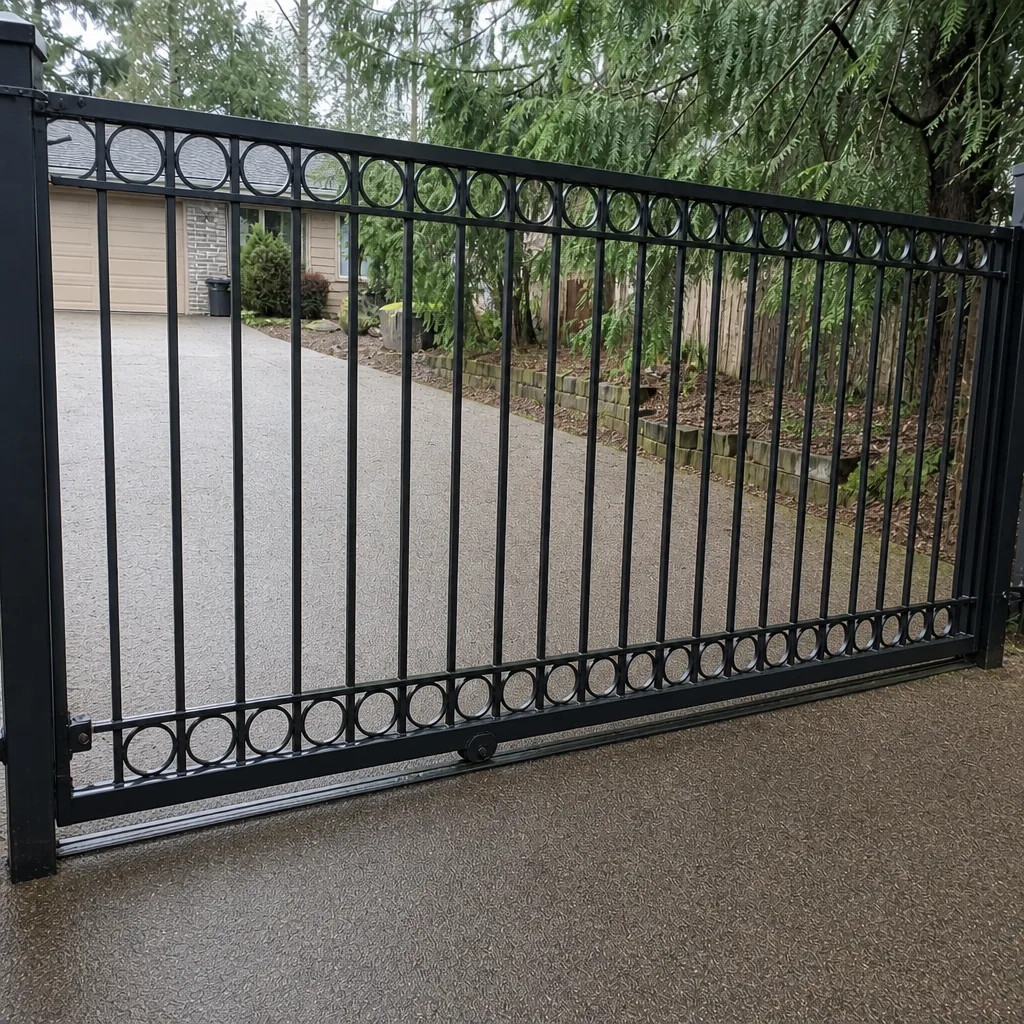 After
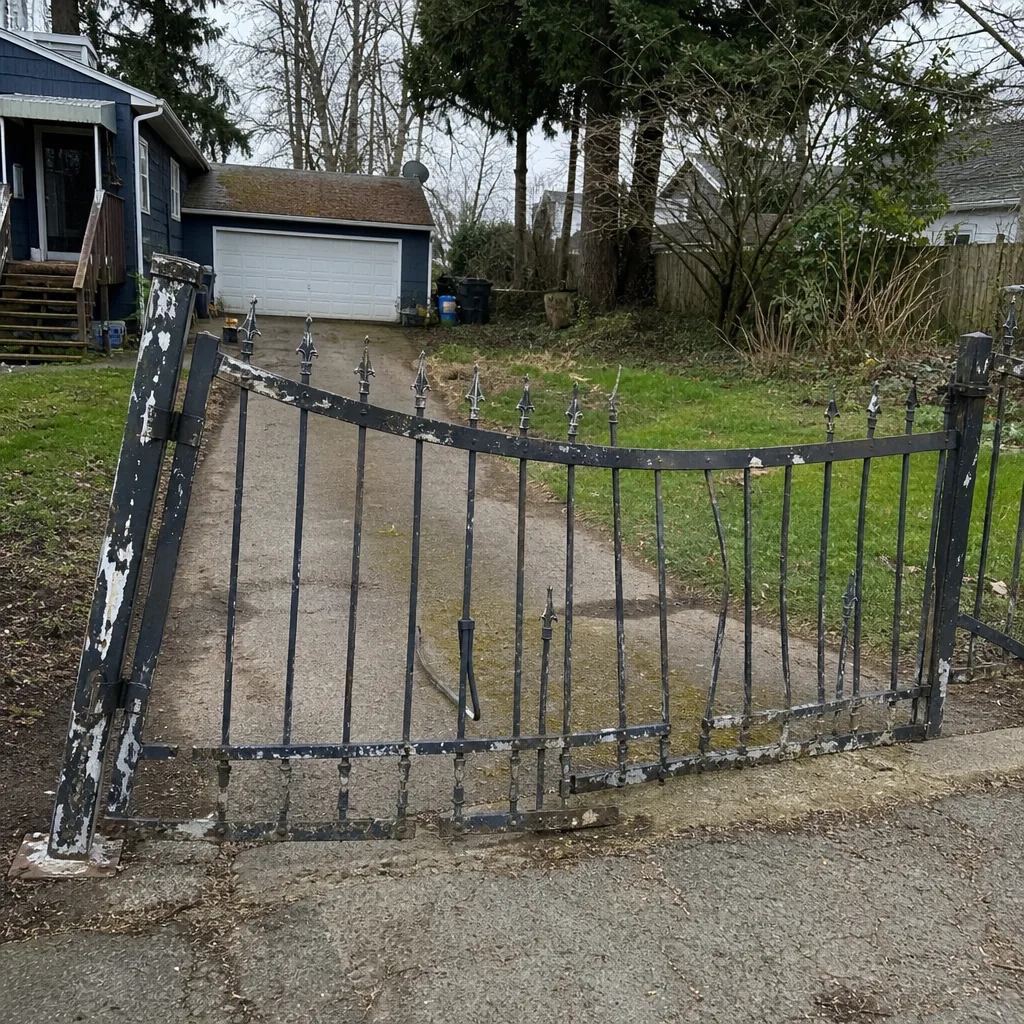 Before
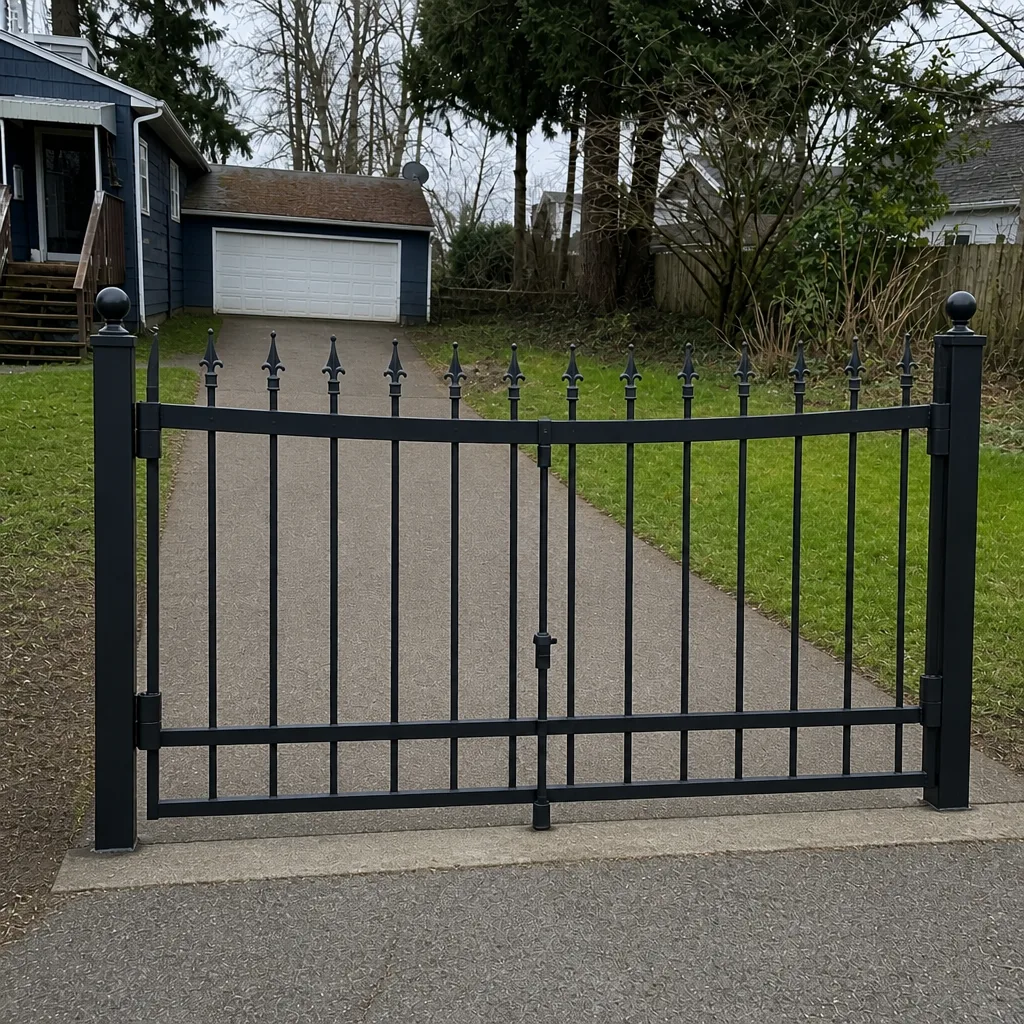 After
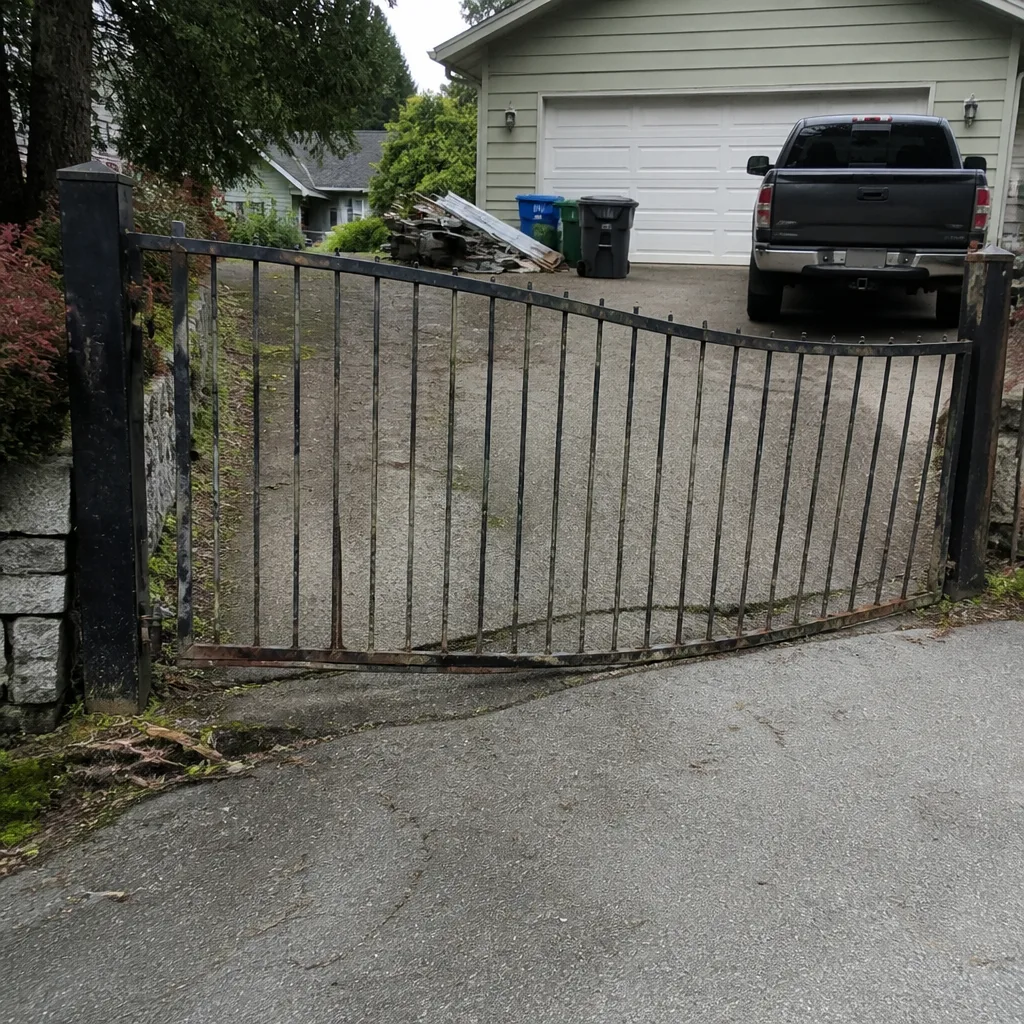 Before
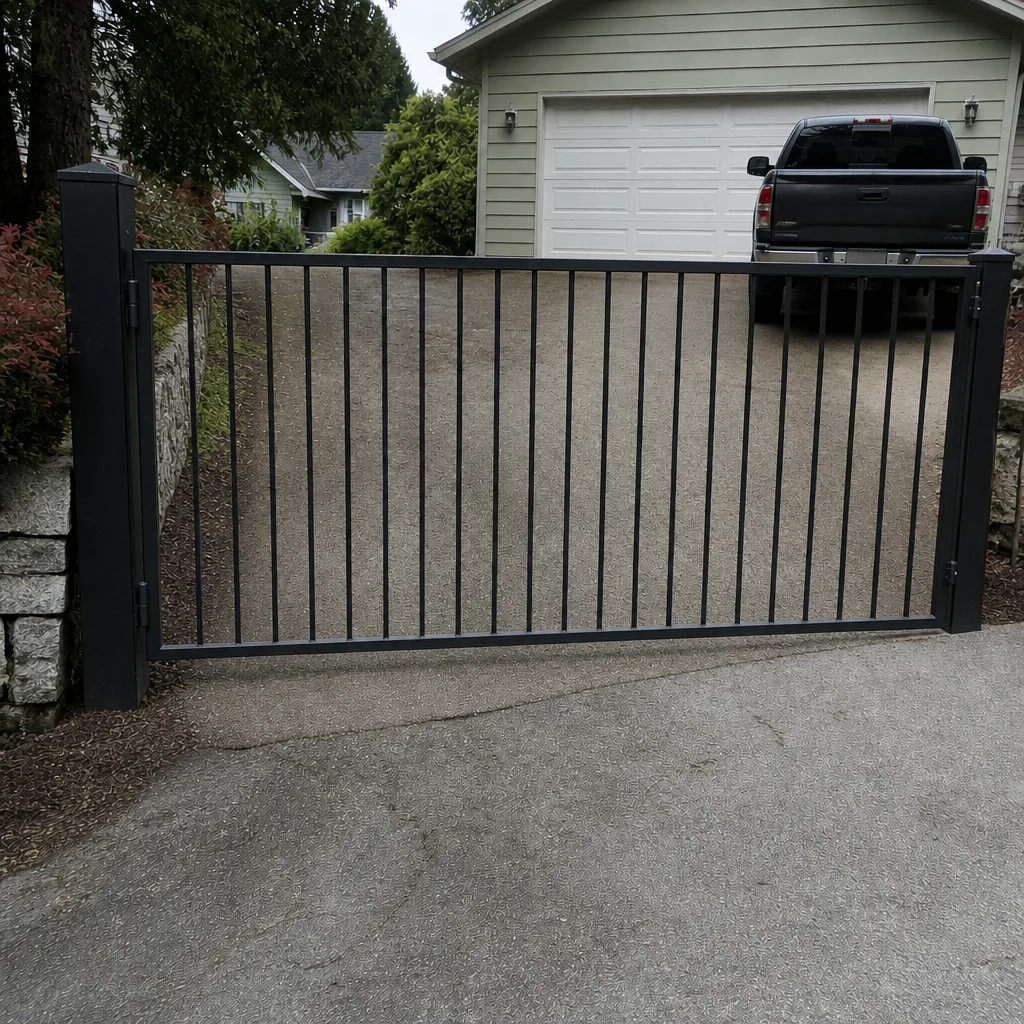 After
When to Call a Professional
Some gate issues need a trained technician, not a checklist. Call a professional when the gate stops mid-cycle and won’t reset, when the operator hums audibly but doesn’t move, when the control board shows intermittent fault patterns you can’t match to the manual, when a gate has come off its track or the slide roller assembly is damaged, or when you smell burning from the cabinet. Electrical work at the operator or the wiring enclosure requires turning off the breaker and confirming the circuit is dead, and we strongly recommend against DIY diagnostics inside the cabinet – a 120V or 240V circuit is present, and mistakes there are dangerous. Heavy gate panels that have started to sag can also come down unexpectedly, so don’t try to lift or prop them by yourself. Gate Repair Renton offers free estimates in Renton – call (866) 293-5161. We answer 24/7, fast dispatch from 7am to 7pm, Sunday through Friday.
Frequently Asked Questions
A residential gate in Renton should get monthly visual checks (about 15 minutes), semi-annual lubrication and hardware tightening (about an hour), and an annual professional service visit. The wet-season timing is what matters most – do the annual tasks in early fall so the gate is in good condition going into the wettest months. If your gate runs daily, or if it’s near a lot of trees, add extra lubrication checks.
It depends on the operator type. Chain-drive LiftMaster operators take a chain-specific outdoor lubricant or a light coat of gear oil. Screw-drive operators take a purpose-made screw-drive lubricant. Hydraulic swing operators don’t get lubricant on the rod. Check the manual for your specific model – the exact product spec is in there, and following it is the simplest way to avoid the wrong lubricant on a good operator. If you’re not sure which type you have, call (866) 293-5161 for a free estimate and a technician can identify it.
The clearest sign is intermittent behavior – the gate runs normally for days, then stops mid-cycle, then runs normally again. Check the indicator lights on the board; a blink pattern that appears only some of the time is a strong sign the board is starting to fail. Moisture inside the electrical enclosure is a common cause in Renton. If you see intermittent failures and moisture in the cabinet, stop using the gate and call for service before it fails permanently. Call (866) 293-5161 – estimates are free.
You can and should do the monthly visual checks, the sensor test, the gap and travel-time measurements, and the semi-annual lubrication yourself – those are homeowner-safe tasks and take an hour or less. What you shouldn’t do yourself is open the electrical enclosure beyond a visual check, diagnose controller faults, or try to repair a motor, gearbox, or hydraulic system. Those carry real electrical and mechanical risk. For anything past lubrication and visual inspection, a professional service call is the safer choice.
Usually hinge pin corrosion. Renton’s wet season drives water into hinge joints, and the corrosion that starts there keeps growing through the dry season. Over a few years the hinge gets stiff enough that the operator has to work harder, and eventually the gate binds up or the operator fails. The fix is on the checklist: lubricate hinges before the wet season and after it, treat any rust that starts, and replace corroded hinge pins before they seize. If your gate is already hard to push by hand with the operator released, it’s time for a service call.
Routine maintenance is the scheduled lubrication, tightening, inspection, and measurement work described in this guide – it’s preventive, and it usually runs under an hour for the semi-annual tasks. A repair call is when something is already broken or failing – the gate won’t open, a sensor is dead, the control board is faulting, or the hardware is physically damaged. Both are worth scheduling separately, but the maintenance routine exists so you need fewer repair calls. Our electric gate repair team handles both, and for the routine side, a trained technician can set up a checklist specific to your operator. Call (866) 293-5161 for a free estimate.
The Bottom Line
A maintenance checklist is only useful if it matches your hardware. The brand on your operator determines the lubrication points, the sensor calibration intervals, and the meaning of the indicator lights on your controller board – so before you follow any generic checklist, find out what you actually own. The three measurements in this guide catch drift before it becomes a failure. The monthly, semi-annual, and annual schedule keeps the work realistic. And the seasonal timing – a big push before the wet season, cleanup after it – is what makes a gate last longer in Renton’s climate. When in doubt, a service call is cheaper than a mid-drive failure.
Gate Repair Renton specializes in gate systems – repair, electric gate repair, and new installation – and we work across the nine major brands: LiftMaster, FAAC, BFT, Linear, Viking, Ghost Controls, DoorKing, Elite, and Mighty Mule. Call (866) 293-5161 for a free estimate. We answer 24/7. Fast dispatch from 7am to 7pm, Sunday through Friday.
Written by the team at Gate Repair Renton.