
Last updated November 15, 2026
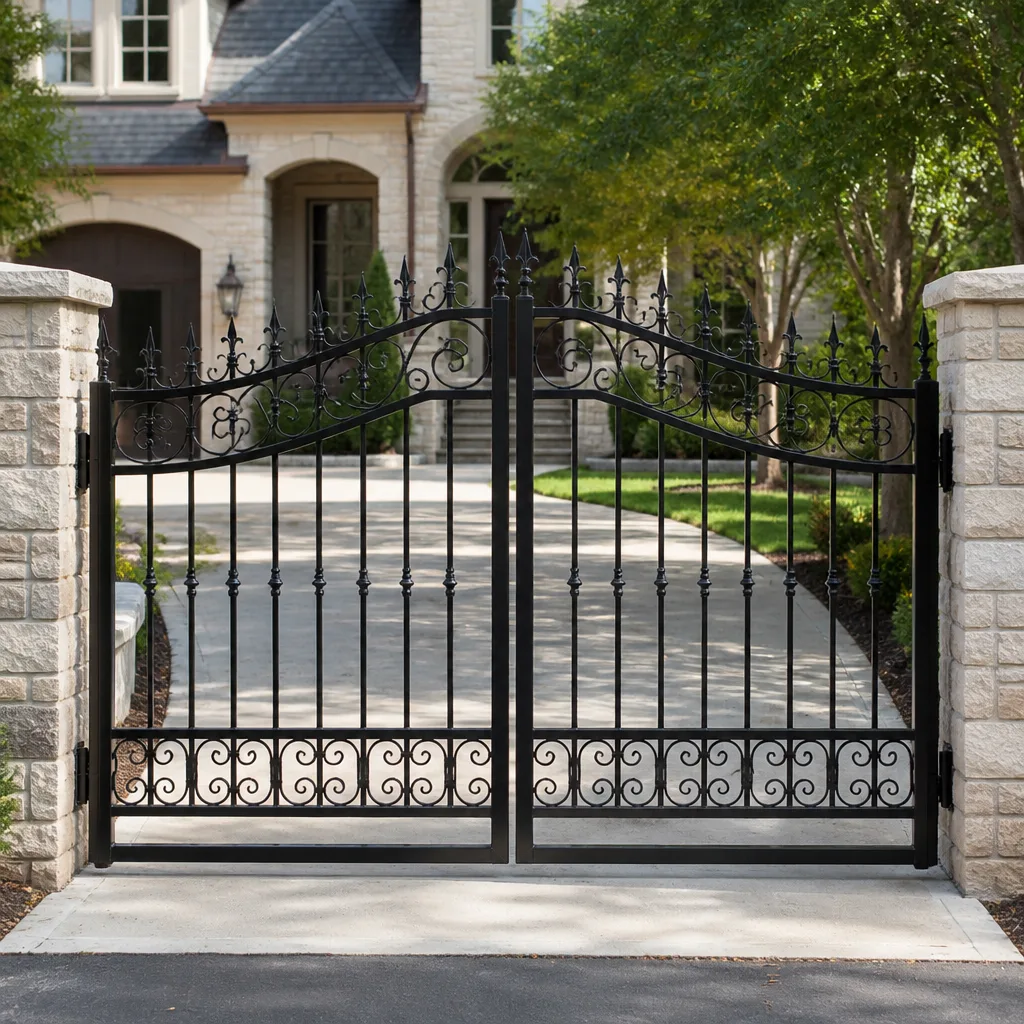 Wrought iron
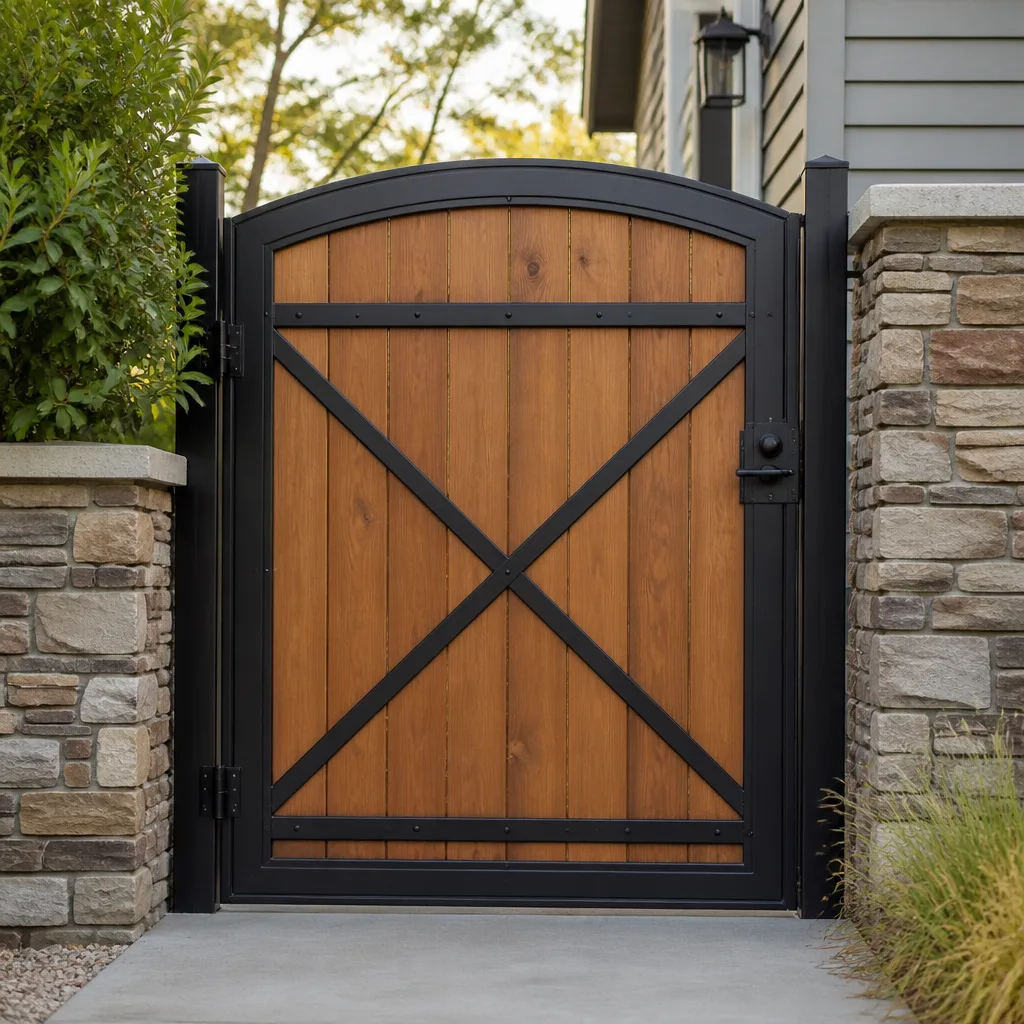 Wood & steel frame
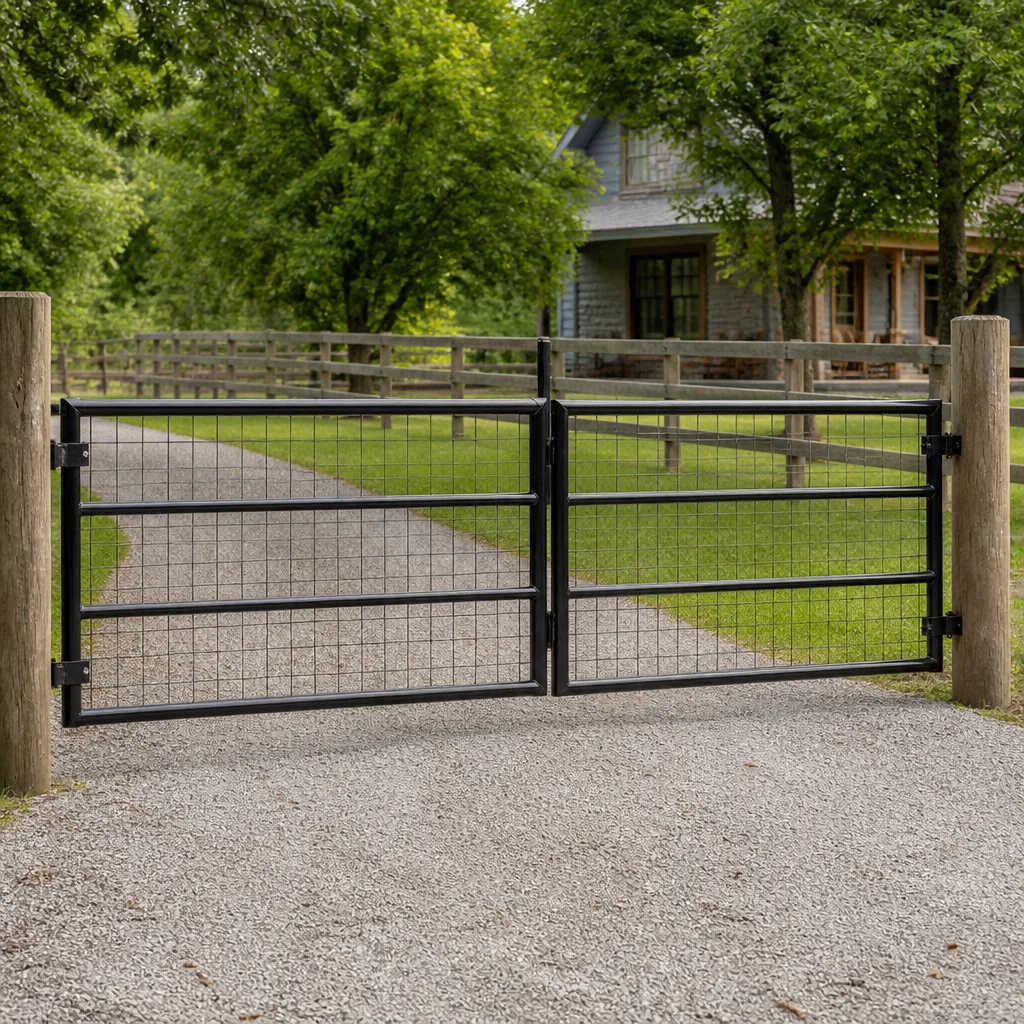 Farm & ranch
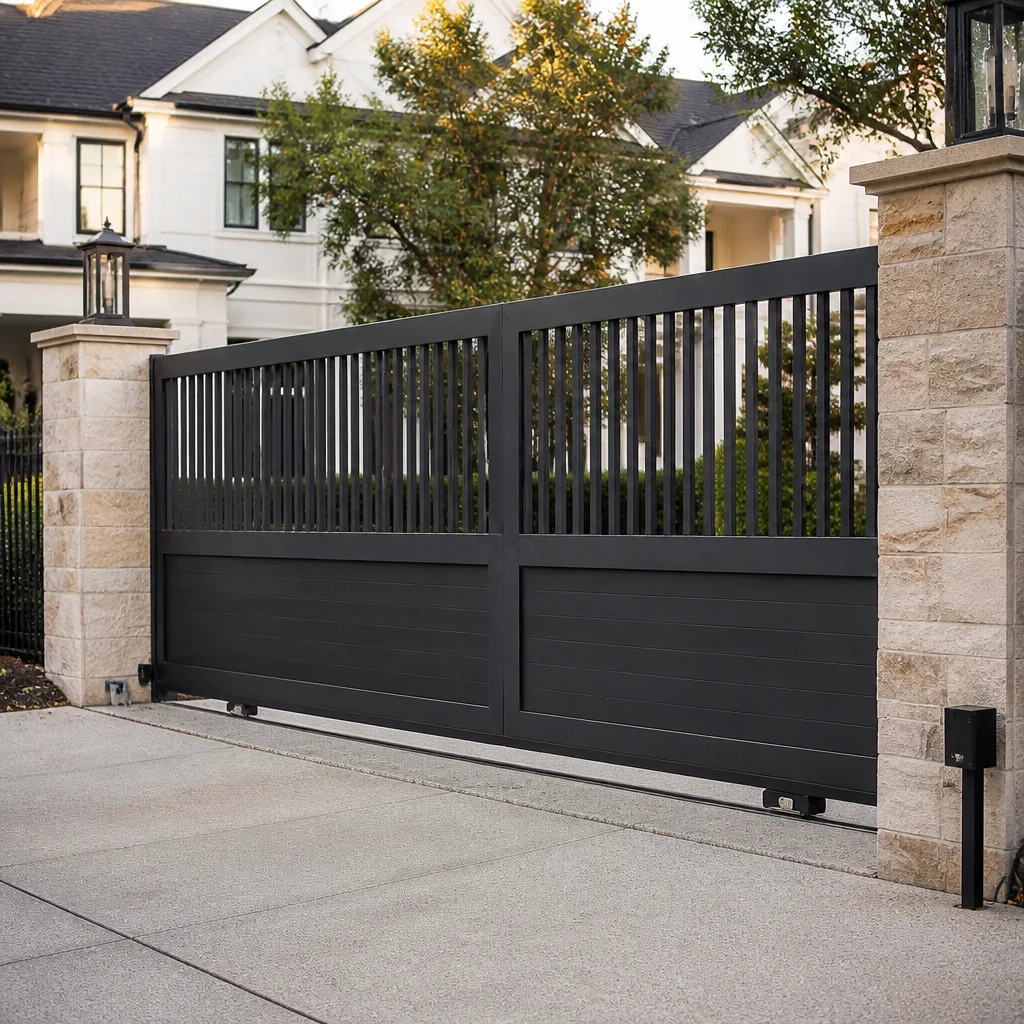 Sliding driveway gates
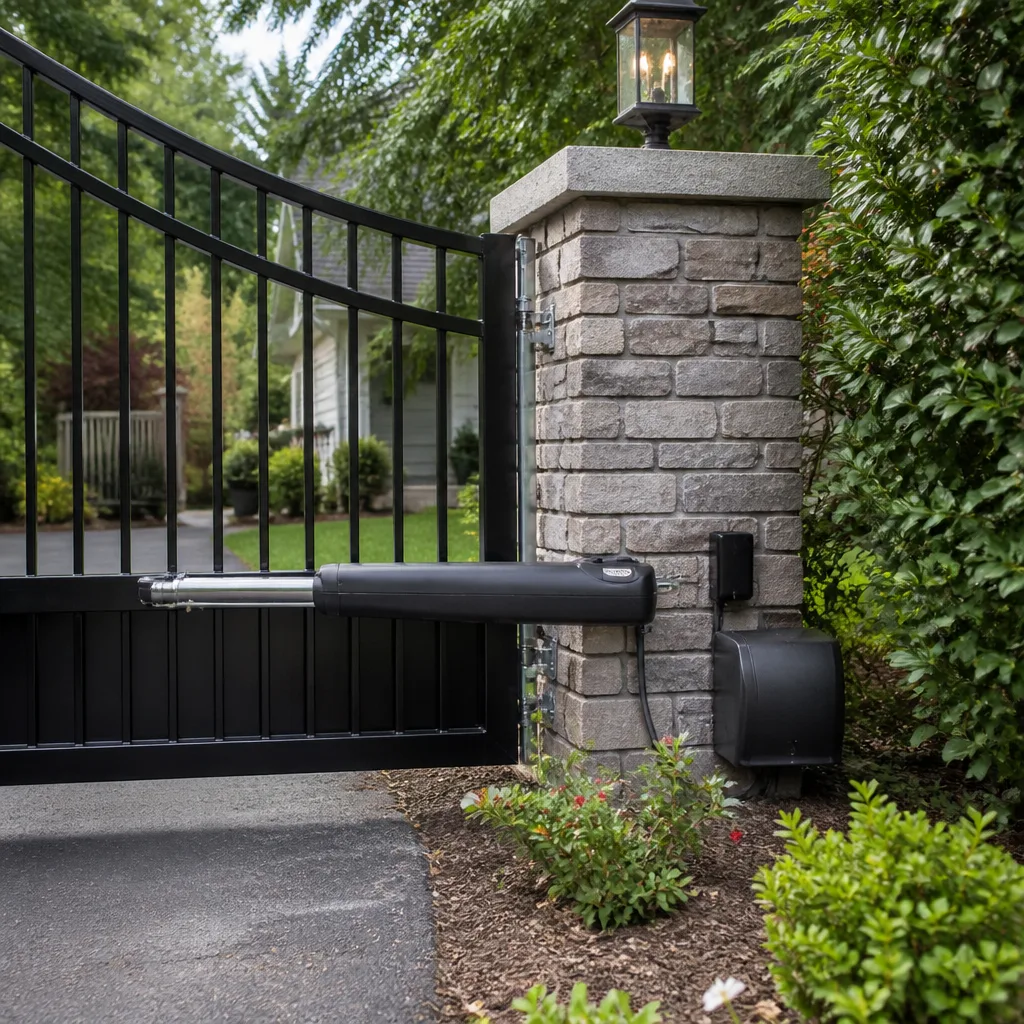 LiftMaster operators
Free on-site gate assessment - hinges, posts, and your LiftMaster or Nice gate operator checked before anything is quoted
The assessment is free and the quote is the invoice.
Get your free estimateGate Repair Troubleshooting in Renton: Common Problems and How to Fix Them
A gate that reverses before it fully closes is one of the most misread symptoms in the field. Most homeowners blame the motor. In our experience, the real culprit is often a miscalibrated limit switch or a dirty photo-eye lens, neither of which is a motor problem at all. Chasing the wrong fix is what turns a small adjustment into a needless repair bill. This guide walks you through how a technician actually isolates a fault in Renton, starting at the control board and reading outward to the hardware, so you can tell a sensor glitch from a motor failure before you spend a dollar. It covers swing, slide, and barrier arm gates separately.
Quick Answer
Gate repair troubleshooting starts at the operator, not the gate. Read the control board’s indicator lights and error codes first, then work outward: check the safety sensors and photo-eyes, test the power supply, inspect the limit switches, and only then look at the mechanical parts like chain, hinges, and track. Most gate faults in Renton trace back to sensor misalignment, wet-season corrosion on underground loop detectors, or power-surge damage to the control board, all of which a technician can diagnose in a single visit. If you want that diagnosis done for you, call (866) 293-5161 for a free estimate.
Styles & brands we work with
- Wrought iron
- Wood & steel frame
- Farm & ranch
- Sliding driveway gates
- LiftMaster operators
Table of Contents
- The Fault Isolation Hierarchy: Read the Board First
- The Three Most Common Failure Patterns in Renton
- Mechanical vs. Electrical: How to Tell Them Apart
- Swing Gate Troubleshooting
- Slide Gate Troubleshooting
- Barrier Arm and Access Gate Troubleshooting
- What’s Safe to Check Yourself vs. What Needs a Technician
- Common Mistakes to Avoid
The Fault Isolation Hierarchy: Read the Board First
Every automated gate tells you what’s wrong before you touch a single bolt. The operator’s control board is the first place a technician looks, because its indicator lights and error codes narrow the fault down to a system before any hardware comes off. Reading the board first is what separates a systematic diagnosis from guesswork. At Gate Repair Renton, our technicians read the operator before they reach for a wrench, and it’s the reason we can often identify the fault within minutes of arriving.
Here’s the order a trained technician works through, and the order you should follow too if you’re doing a visual check:
- Control board indicators. Most operators have LEDs that signal power, run status, and fault conditions. A blinking code is the operator telling you exactly which circuit tripped. Match the blink pattern to the brand’s manual (Linear, Viking, DoorKing, and others each use their own codes).
- Safety sensors and photo-eyes. Confirm the sensor lenses are clean and aligned. If the operator’s safety LED won’t go solid, the gate won’t close, no matter how healthy the motor is.
- Power supply. Check the breaker and confirm the operator is receiving steady voltage. A board that power-cycled during a storm may need a reset before it behaves.
- Limit switches. These tell the operator where the gate’s open and closed positions are. A drifted limit switch causes the gate to stop short or reverse.
- Mechanical inspection. Only now do you look at chain tension, hinge wear, roller condition, and track debris.
This hierarchy matters because the symptom rarely points to the true cause. A gate that won’t close looks like a motor problem but is more often a sensor problem. A gate that stops halfway looks mechanical but is usually a limit switch or a board fault. Work outward from the board and you stop guessing.
The Three Most Common Failure Patterns in Renton
Gate faults in Renton follow patterns tied to the local climate and terrain. The Pacific Northwest’s wet season, the soil conditions around the lake, and the region’s power reliability each push gate systems toward specific failure modes. Knowing these three patterns helps you predict what’s likely wrong before a technician even arrives.
1. Corrosion on Underground Loop Detectors from Wet-Season Soil Saturation
Driveway loop detectors sit buried in the ground and detect a vehicle’s presence to trigger the gate. During Renton’s wet season, saturated soil pushes moisture against the loop wire and its splice connections. Over time that moisture corrodes the connections, and the gate stops detecting vehicles, fails to open, or opens and then refuses to close because it thinks a car is still sitting on the loop. If your gate works fine when you use the remote but won’t respond to a vehicle in the driveway, the loop detector is the first suspect.
2. Salt Drift Near Lake Washington Properties
Properties close to Lake Washington can see salt drift carried on the air during the colder months, and that film settles on exposed metal: operator housings, hinges, chains, and sensor contacts. Salt drift accelerates corrosion on any unprotected metal surface, which is why gate hardware near the water often wears faster than identical hardware further inland. Rinsing exposed components during the wet season and keeping sensor contacts clean reduces the wear.
3. Power Fluctuation Damage to Control Boards
Renton’s winter windstorms bring voltage spikes and brief outages. Sensitive control boards can absorb that damage and come back online with a fault, a scrambled memory, or a dead output. A board that keeps tripping its breaker or refuses to hold a program after a storm is usually a surge casualty. A technician can test the board and confirm whether it needs a reset, a component replacement, or a full board swap.
If any of these sound familiar, our electric gate repair service is built around exactly these failures. We diagnose the board, the loops, and the power path rather than routing you elsewhere.
Mechanical vs. Electrical: How to Tell Them Apart
Most gate problems fall into two buckets: mechanical failures and electrical failures. Distinguishing them is the single most useful troubleshooting skill a homeowner can develop, because the two require completely different fixes and different people to fix them. You can separate them with your eyes, your hands, and a multimeter, no disassembly required.
Use this comparison to sort your symptom into the right bucket:
- Mechanical failures show up as physical resistance, noise, or misalignment. Signs include a slack chain that slaps or jumps the sprocket, hinge wear that lets the gate sag and drag, debris or gravel in a slide gate’s track, worn rollers, and a gate that binds or wobbles as it moves. Run the gate by hand (with the operator disengaged) and feel for drag or grinding. If it moves hard by hand, it’s mechanical.
- Electrical failures show up as silence, erratic behavior, or codes. Signs include an operator that won’t power on, a board showing a fault LED, sensors that won’t align, a remote that stopped working, wiring that’s been chewed or shorted, and a gate that behaves differently depending on the weather. If the gate runs smoothly by hand but the operator refuses to move it, it’s electrical.
The multimeter is your tiebreaker. With the operator set to the right test mode, you can confirm whether voltage is reaching the motor, whether the safety circuit is continuous, and whether the board is sending a command. A board that has voltage but never sends output to the motor is an electrical fault, even if the gate looks perfectly fine. A motor that receives voltage but doesn’t turn is a motor or board-output fault. Feeling the gate by hand first, then confirming with a meter, is the exact sequence a technician follows.
Swing Gate Troubleshooting
Swing gates fail in predictable ways, and the fault usually lives in the arm, the hinges, or the safety sensors. A swing gate has no track to foul, so when it misbehaves the cause is almost always the actuator arm, the hinge geometry, or a sensor reading the gate as blocked. Here’s the decision path for the most common swing gate symptoms:
- Gate reverses before closing. Likely cause: a misaligned or dirty photo-eye, or a limit switch that drifted. DIY check: clean both sensor lenses and confirm they face each other squarely. If the safety LED won’t go solid, it’s the sensor. Call a technician if realigning doesn’t fix it or if the limit switch has drifted.
- Gate opens but won’t close at all. Likely cause: the safety circuit thinks something is in the path. DIY check: inspect the photo-eyes and any safety edges for a broken wire or lens obstruction. Call a technician if the wiring needs testing.
- Gate sags and drags on the ground. Likely cause: hinge wear or a settling post. DIY check: open the gate by hand and watch the hinge side. If the gate drops as it swings, the hinges are worn. Call a technician to assess hinge replacement or post adjustment.
- Arm moves but gate doesn’t. Likely cause: a sheared arm pin or a stripped actuator. DIY check: look at the connection between the arm and the gate. Call a technician; this is a hardware replacement.
Swing gate operators from brands like FAAC, BFT, and LiftMaster are common on Renton properties, and each has its own arm geometry and limit-switch setup. We already know your operator brand, so diagnosis starts from familiarity rather than a learning curve.
Slide Gate Troubleshooting
Slide gates add a track and a set of rollers to the equation, so their failures split between the track and the operator. A slide gate that grinds, jerks, or stops short is usually telling you about debris in the track or worn rollers, while a gate that won’t move at all points to the operator or its sensors. Work through these symptoms:
- Gate grinds or shudders as it moves. Likely cause: debris, gravel, or a buildup of dirt in the track, or worn rollers. DIY check: clear the track and run the gate by hand to feel for resistance. Call a technician if the rollers are flat-spotted or a wheel bearing is shot.
- Gate stops partway and reverses. Likely cause: a limit switch or a safety sensor. DIY check: clean the photo-eyes and check for a physical obstruction. Call a technician if the limit switch needs recalibration.
- Gate moves slowly or struggles. Likely cause: worn rollers, a slipping chain, or a failing motor. DIY check: disengage the operator and push the gate by hand. If it rolls easily, the problem is in the operator. Call a technician to test the motor and chain.
- Gate won’t detect a vehicle at the driveway. Likely cause: a corroded or damaged underground loop detector. DIY check: none safe here; the loop is buried. Call a technician to test the loop and its connections.
Slide gates also carry a real safety hazard: a heavy panel that comes off its track or binds can crush or pin. Never force a bound slide gate by hand, and never stand in its path while testing. Trained professionals should handle anything involving the operator’s power and the panel’s travel.
Barrier Arm and Access Gate Troubleshooting
Barrier arm gates, common at commercial lots, HOAs, and multi-tenant properties in Renton, fail in their own distinct patterns because they combine a boom arm with an access-control system. When a barrier arm misbehaves, the fault usually sits in the arm mechanism, the loop detectors, or the access reader rather than the motor. Use this path:
- Arm won’t raise. Likely cause: the access reader isn’t sending a command, or a loop detector isn’t detecting the vehicle. DIY check: test the remote or keypad. If a remote raises the arm but a vehicle in the loop doesn’t, the loop is the fault. Call a technician.
- Arm raises and won’t come back down. Likely cause: a vehicle-presence loop stuck in “detect” mode, or a safety sensor reading a phantom obstruction. DIY check: confirm the arm’s path is clear and check for a vehicle parked over the loop. Call a technician if the loop needs testing.
- Arm hits the ground or doesn’t stop at the right height. Likely cause: a drifted limit switch or a worn counterbalance spring. DIY check: none beyond a visual check. Call a technician; the counterbalance and limit settings need a trained hand.
- Arm moves erratically or the operator hums without moving. Likely cause: a control board fault or a wiring short. Call a technician.
DoorKing entry systems are among the most common barrier and access operators on commercial and HOA properties, and they use specific loop and access configurations. Knowing those configurations shortens diagnosis and reduces repeat visits, which matters when the gate controls access to a whole property.
What’s Safe to Check Yourself vs. What Needs a Technician
Some gate troubleshooting is safe for a homeowner. Some isn’t, and attempting it can void your operator’s warranty or put you in danger. The line is clear: cleaning and visual checks are fine; anything involving the electrical components or heavy hardware needs a trained professional.
Safe DIY checks:
- Cleaning photo-eye and sensor lenses with a soft cloth.
- Confirming sensors are aligned and facing each other.
- Clearing debris and gravel from a slide gate track.
- Checking that breaker and power are on.
- Testing the remote, keypad, and access reader.
- Opening the gate by hand (with the operator disengaged) to feel for drag.
Checks that need a licensed technician:
- Opening the operator housing to test the control board or motor.
- Testing voltage at the board, motor, or safety circuit with a multimeter.
- Recalibrating limit switches.
- Replacing the control board, motor, or actuator.
- Testing or repairing underground loop detectors.
- Adjusting hinge geometry, counterbalance springs, or heavy swing arms.
- Any wiring repair or replacement.
Operator housings hold live electrical components, and heavy gate panels move with significant force. If a symptom involves the board, the wiring, or a bound gate, stop there and call us. Our technicians have up to 8 years of experience isolating exactly these faults.
Common Mistakes to Avoid
- Replacing the motor to fix a sensor problem. A gate that reverses on closing is more often a dirty or misaligned photo-eye than a failing motor. Cleaning and realigning the sensor first saves you a motor bill.
- Ignoring the error codes on the control board. The operator is telling you what’s wrong. Skipping the diagnosis and guessing at hardware replacement is the fastest route to repeat visits and wasted money.
- Forcing a bound gate by hand. If a slide gate or swing gate binds, forcing it can damage the operator and risk crushing a hand or foot. Find the obstruction or call a technician.
- Washing down the gate hardware with a hose and leaving it wet. In Renton’s wet season, adding water to exposed hinges and operator housings speeds corrosion rather than removing it. Wipe and dry the components after cleaning near Lake Washington properties.
- Assuming a dead-gate failure is the board when it’s the power. A tripped breaker, a GFCI, or a storm-related outage can leave the operator without power. Check the power source before you blame the board.
- Skipping the seasonal loop and sensor check. Renton’s wet season stresses underground loops and sensor contacts. A quick seasonal inspection prevents most of the wet-weather service calls we see.
- Attempting electrical repairs on your own. Anything on the power side of the operator is a trained-professional job. A DIY wiring attempt can void your operator’s warranty and create a shock hazard.
See the difference
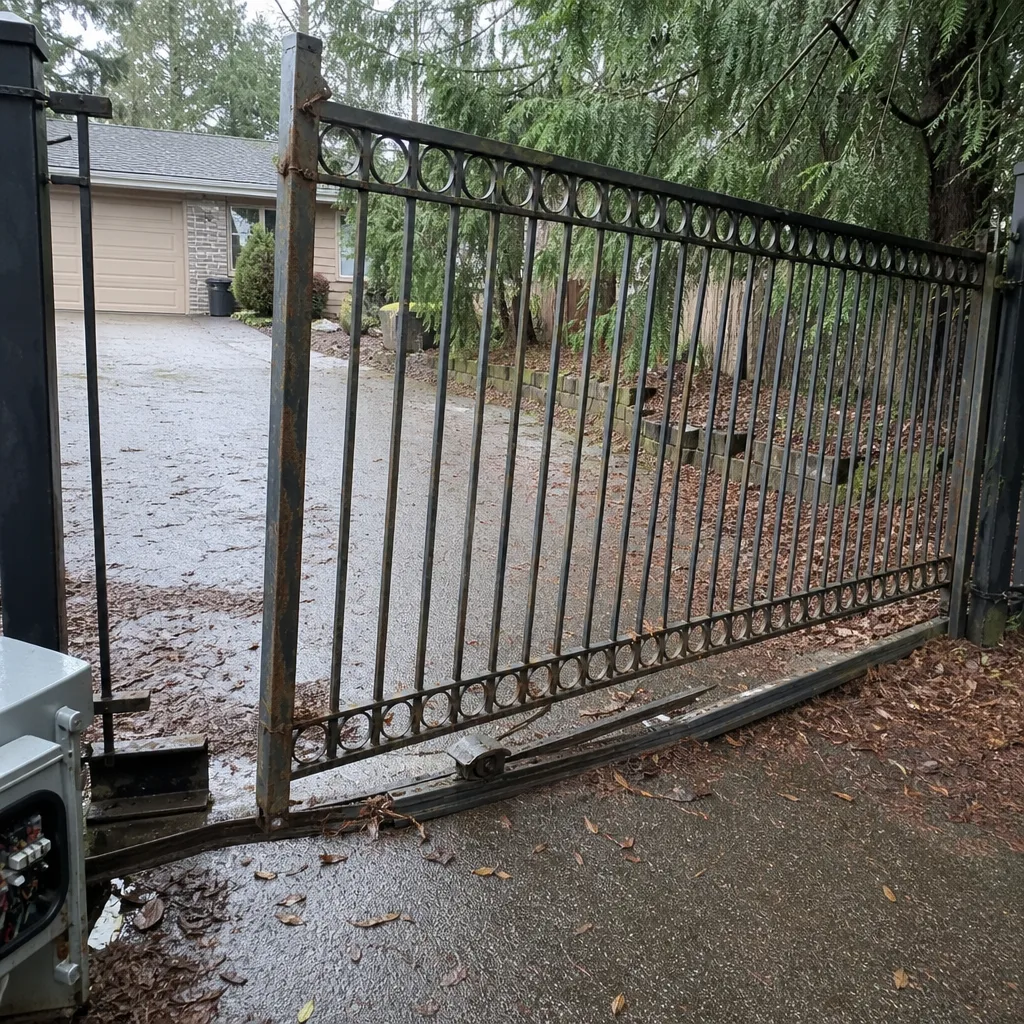 Before
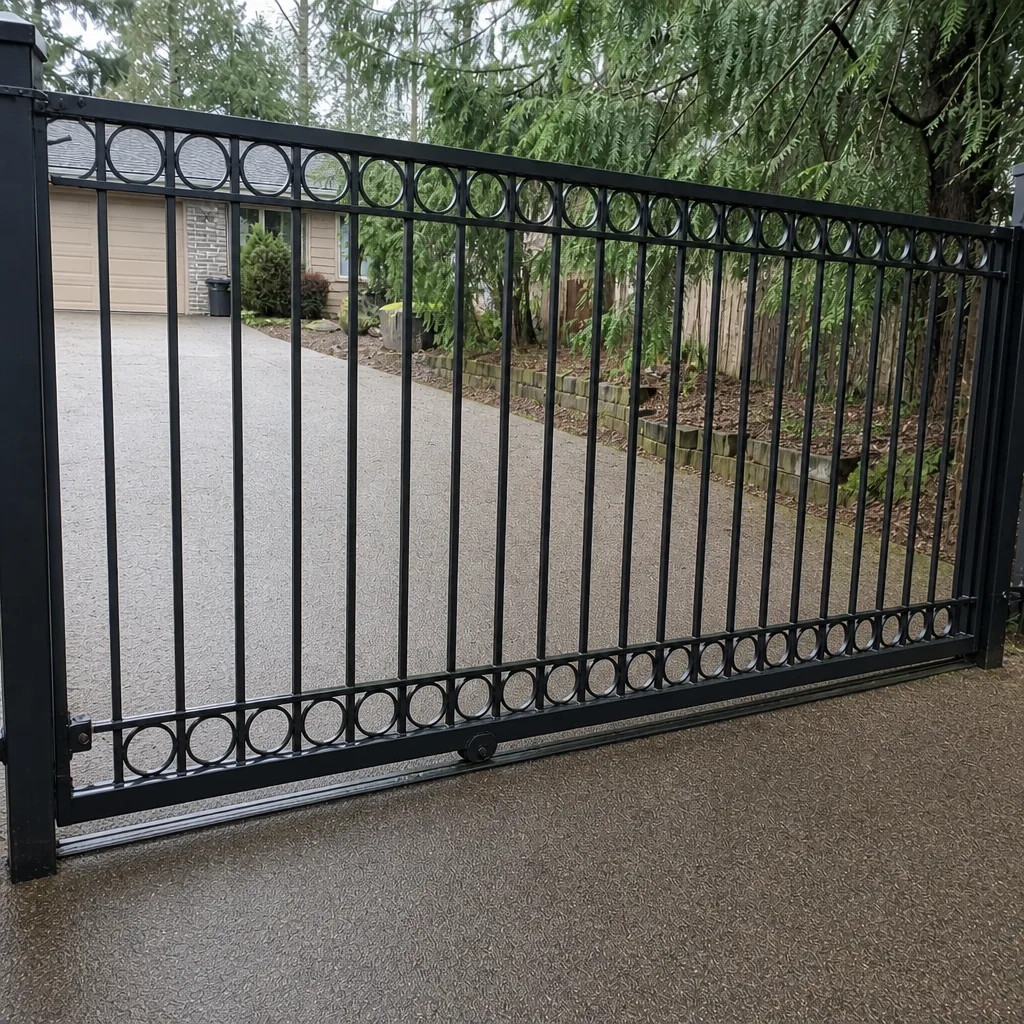 After
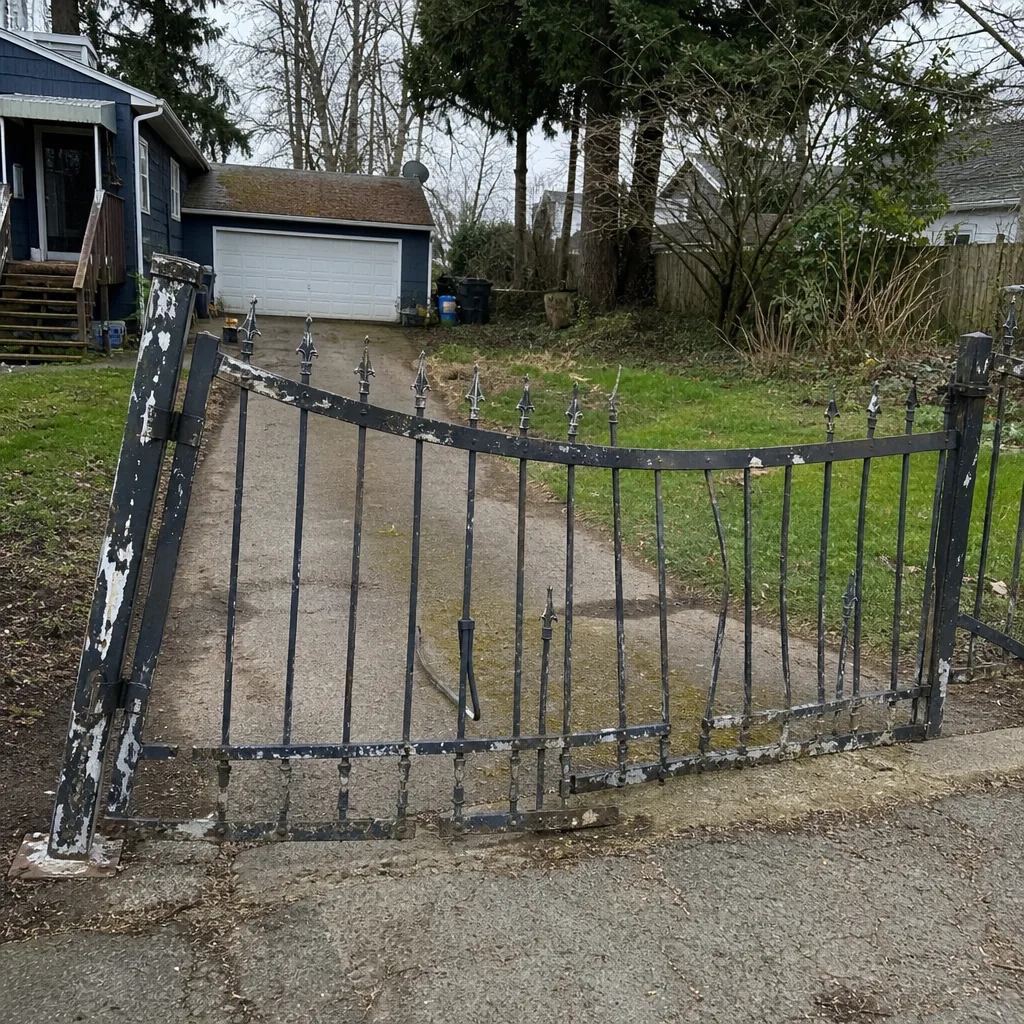 Before
 After
 Before
 After
When to Call a Professional
Call a technician when the fault lives in the operator or its wiring, when a heavy gate binds or comes off its track, when a loop detector or sensor needs testing beyond a visual check, or when the board shows a fault code you can’t clear. Call us sooner if a gate has stopped moving entirely and access to your property matters, if a barrier arm won’t raise for tenants, or if you can’t isolate a symptom at all. A trained technician can test the board, the sensors, the loop, and the motor in one visit and confirm which part is actually failing. Gate Repair Renton offers free estimates in Renton – call Renton‘s gate specialist at (866) 293-5161. We answer 24/7. Fast dispatch from 7am to 7pm, Sunday through Friday.
Frequently Asked Questions
Troubleshooting itself isn’t priced as a separate line item; the repair is quoted per job from your written estimate, and the estimate is free. Once the fault is isolated, you get the price agreed in writing before any work starts, so you know the number before the invoice exists. Call (866) 293-5161 for an exact quote.
Often yes, depending on the day and your location in Renton. We answer 24/7, and fast dispatch is available from 7am to 7pm, Sunday through Friday. Call (866) 293-5161 and we’ll tell you the nearest opening; a call outside dispatch hours is booked into the next opening, Sunday through Friday, 7am to 7pm.
A gate that reverses before closing is most often triggered by a dirty or misaligned photo-eye or a safety sensor reading a phantom obstruction, though a drifted limit switch can do it too. Clean and realign the sensor lenses first. If the gate still reverses, the safety circuit or limit switch needs a technician’s test. Call (866) 293-5161 for a free estimate.
Cleaning and realigning the sensor lenses is a safe DIY check. Anything beyond that, including testing the wiring or replacing a sensor, needs a trained technician to avoid damaging the operator or voiding its warranty. Call (866) 293-5161 and we’ll test it for you.
We’re experienced across nine major gate-operator brands, including Linear, Viking, Ghost Controls, and DoorKing, covering residential and commercial systems alike. Knowing the brand shortens diagnosis because each operator uses its own fault codes and wiring conventions. Call (866) 293-5161 and tell us your brand.
Winter windstorms bring voltage spikes and brief outages that can damage or scramble a control board, and wet-season soil saturation corrodes underground loop detectors. If your gate failed after a storm, suspect the board and the loop first. Call (866) 293-5161; our electric gate repair team tests both.
The Bottom Line
Gate troubleshooting is a matter of order, not luck. Read the control board first, then work outward to the sensors, the power, the limit switches, and finally the mechanical parts. Most Renton gate faults trace back to sensor misalignment, wet-season loop corrosion, or storm damage to the board, and none of those require replacing the motor. Clean and visually check what’s safe to check, and hand the electrical and heavy hardware work to a trained technician. If you want the fault isolated in a single visit, our gate repair team is ready. Call (866) 293-5161 for a free estimate.
Written by the team at Gate Repair Renton.